> ## Documentation Index
> Fetch the complete documentation index at: https://docs.frankieone.com/llms.txt
> Use this file to discover all available pages before exploring further.
# IDV Module
> The IDV Module provides an all-in-one solution for implementing OCR and Biometrics in your application's onboarding flow. It seamlessly integrates with vendor SDKs and automatically handles all necessary API calls between FrankieOne and vendor systems.
## Sample Implementation
```typescript title="Complete IDV Flow Implementation" theme={null}
const idv = oneSdk.flow("idv");
idv.on("ready", () => {
// IDV is mounted and ready
});
idv.on("loading", (isLoading) => {
// `isLoading` is a boolean type indicating the loading state
});
idv.on("input_required", () => {
// OCR or Biometrics failed to capture data
});
idv.on("detection_complete", () => {
// Detection is complete, usually show a loading state here
});
idv.on("processing", (result) => {
// Got pending result
})
idv.on("results", (result) => {
// Do something with the results
})
idv.on("error", (error) => {
// Handle errors
})
// Mount the IDV flow to a container
idv.mount("#idv-container");
```
If you use `daon`, you have to explicitly define the vendor name in `provider` object.
see: [Multi IDV](/docs/v1/onesdk/oneSDK/implementation-guide/module/idv/multi-idv), implementation section.
You can specify the identity verification provider at runtime by passing the `provider` option when initializing the IDV flow.
see: [Multi IDV](/docs/v1/onesdk/oneSDK/implementation-guide/module/idv/multi-idv)
## Event System
The IDV module uses an event-driven architecture to communicate state changes and results.
Emitted when IDV is successfully mounted
```javascript theme={null}
idv.on('ready', () => {
console.log('IDV component is ready');
});
```
Signals successful information detection
```javascript theme={null}
idv.on('detection_complete', () => {
setMounted(false); // Clean up
});
```
```typescript title="Results Event Handler" theme={null}
idv.on('results', (checkStatus, document, entityId) => {
switch(checkStatus) {
case 'COMPLETE':
// Handle successful verification
break;
case 'FAILED':
// Handle failed verification
break;
}
});
```
```typescript title="Results Event Data Structure" theme={null}
interface ResultsEvent {
checkStatus: 'COMPLETE' | 'FAILED';
document: Object;
entityId: string;
}
```
The results event provides comprehensive verification outcomes, including document data and entity references.
```typescript theme={null}
interface InputRequiredEvent {
information: {
entityId: string
},
checkStatus:
| 'AWAITING_DOCUMENT_UPLOAD_INVALID_TYPE'
| 'WAITING_DOC_UPLOAD'
| 'WAITING_SELFIE_UPLOAD'
| 'INCOMPLETE'
| 'INTERRUPTED'
}
idv.on('input_required', (information, checkStatus) => {
switch(checkStatus) {
case 'WAITING_SELFIE_UPLOAD':
console.log("Awaiting selfie capture");
break;
case 'WAITING_DOC_UPLOAD':
console.log("Awaiting document upload");
break;
// Handle other states...
}
});
```
For Incode integrations, the 'INTERRUPTED' status typically indicates missing camera permissions.
```typescript theme={null}
interface ErrorEvent {
message: string;
payload: object;
}
idv.on('error', (error) => {
console.error(`Error: ${error.message}`, error.payload);
// Implement your error handling logic
});
```
For Incode integrations, refer to the [Incode documentation ](https://docs.incode.com/docs/web/integration-guide/getting_started) for detailed error payload information.
##### Implementation Tips
1. Always test the flow on both desktop and mobile devices
2. Implement proper cleanup on component unmount
3. Consider implementing retry logic for failed verifications
4. Store the entityId for future reference
## Typical Vendor Flows
Users select their country of origin
Users choose their identification document type
Users capture or upload their chosen document
System prepares for biometric capture
Users complete their biometric verification
Onfido provides a complete in-browser verification experience without requiring device switching.
Desktop users receive a QR code to continue the process on mobile
1. Consent capture
2. Document selection
3. Document capture
4. Biometrics verification
Incode requires a mobile device for optimal document and biometric capture.
Desktop users will land to the Daon welcome screen at the start
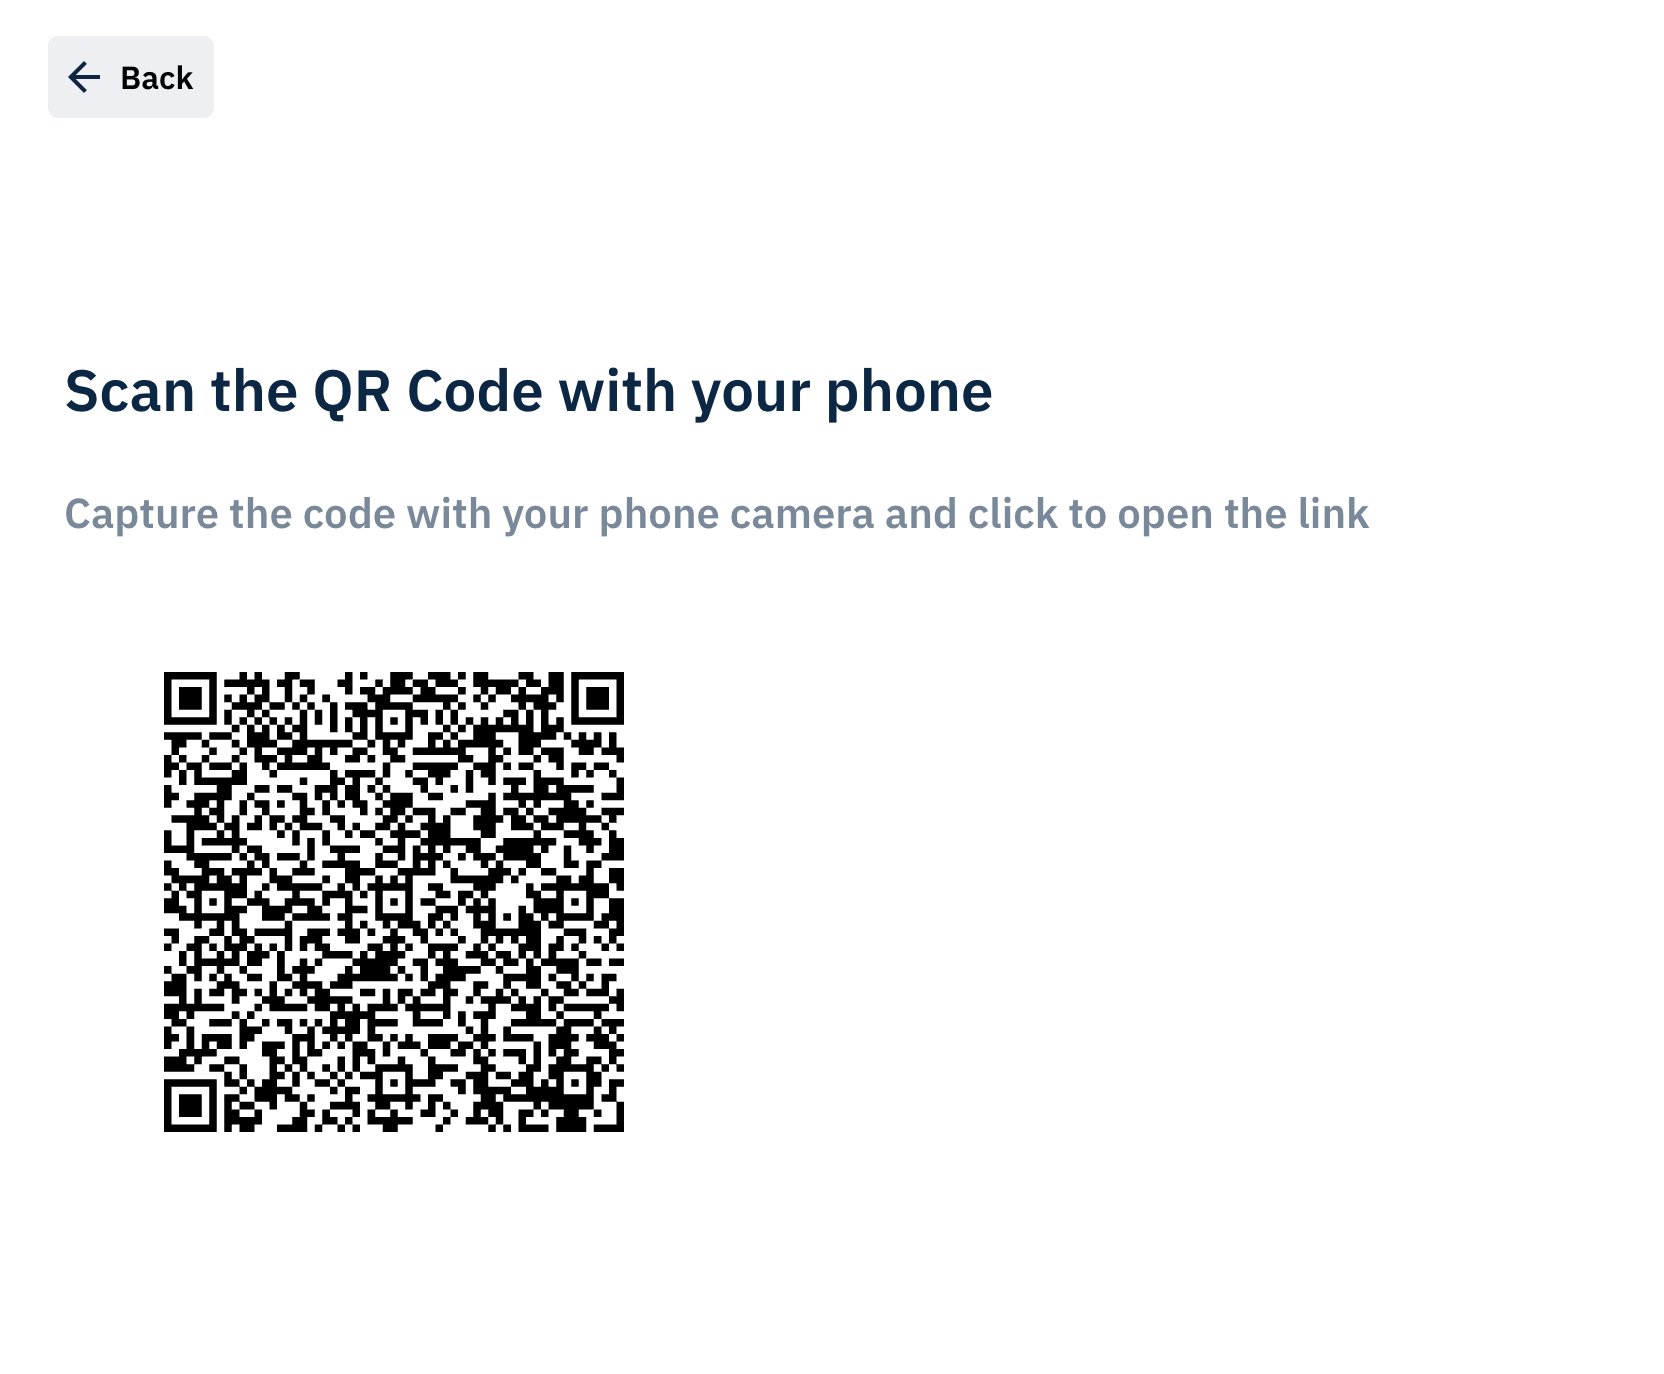
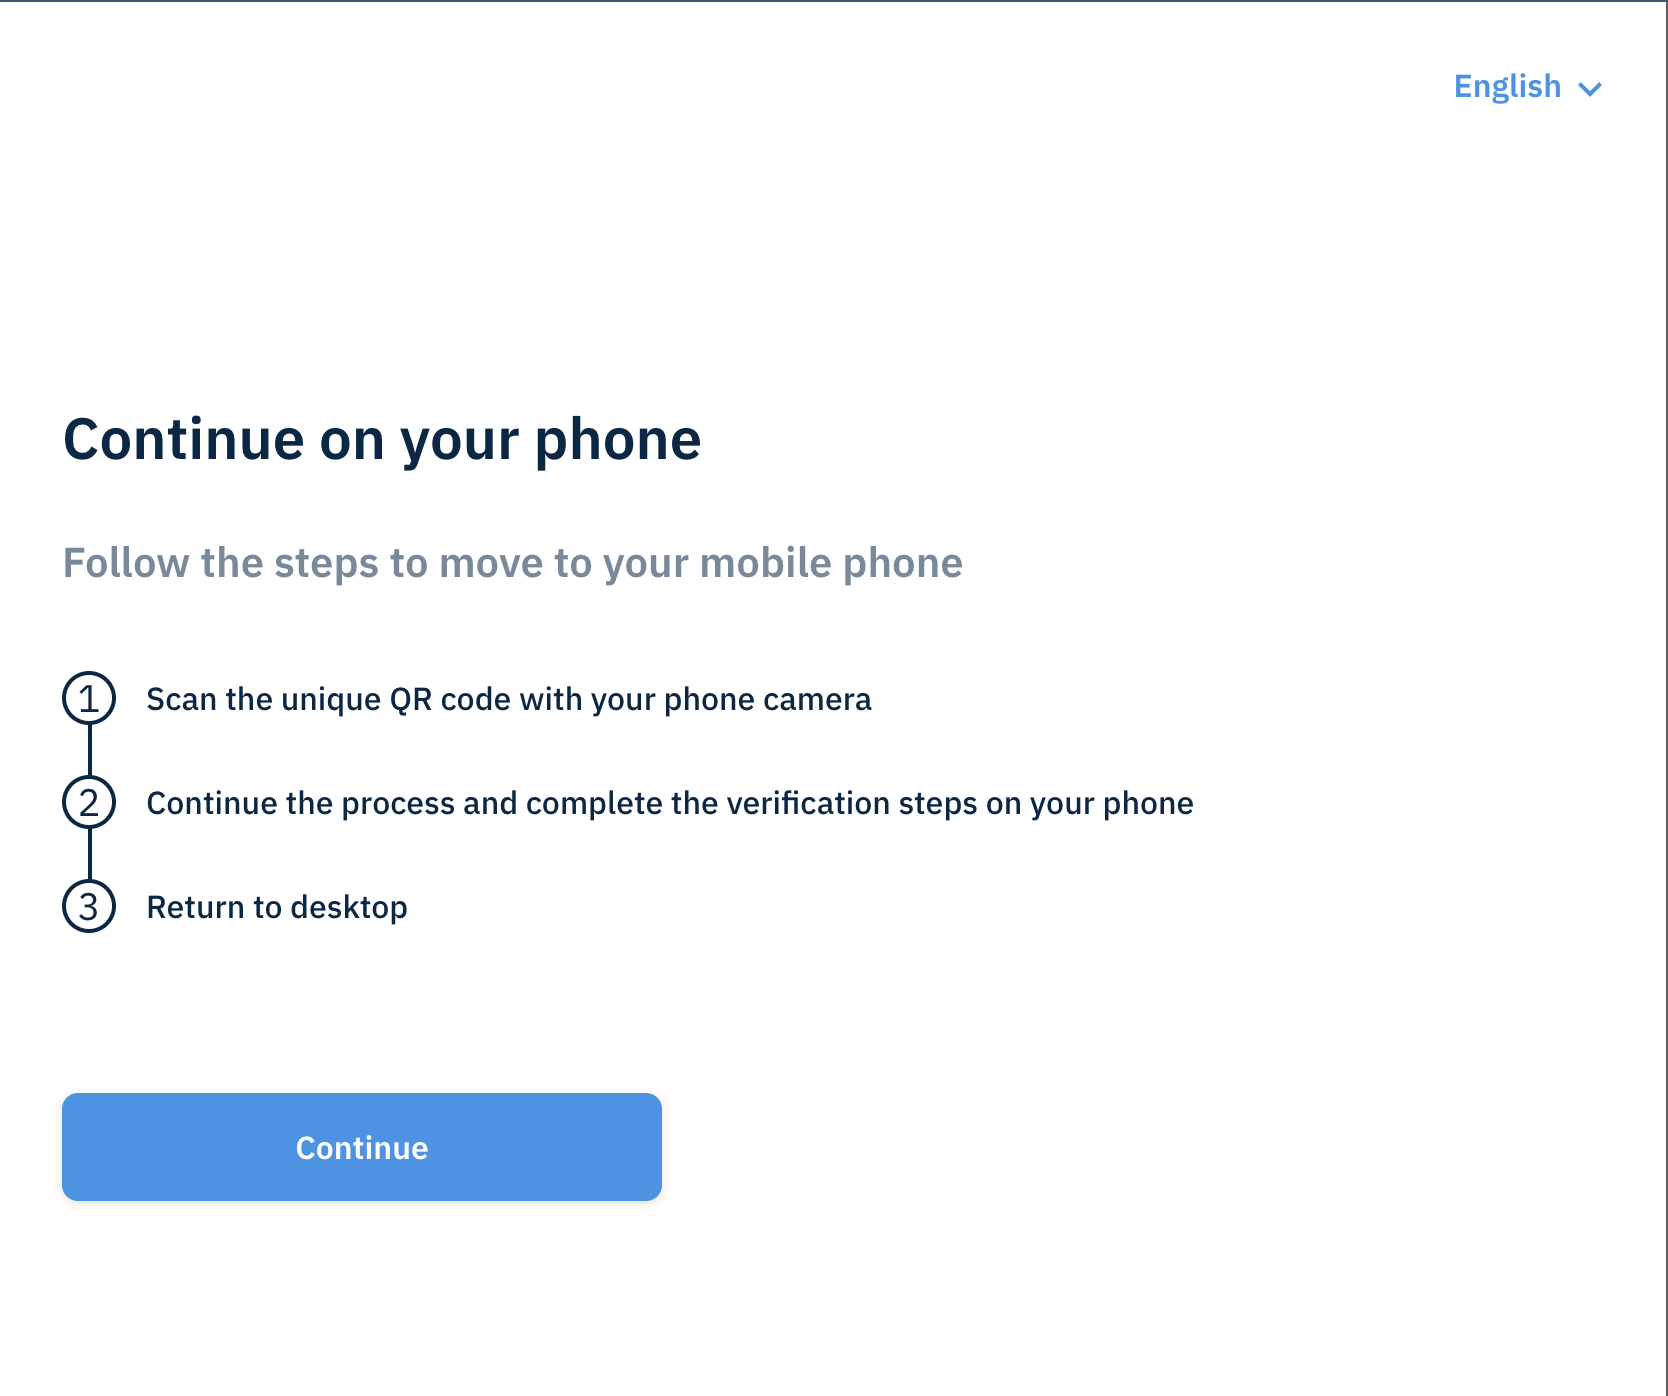 Desktop users will receive a QR code to continue the process on mobile.
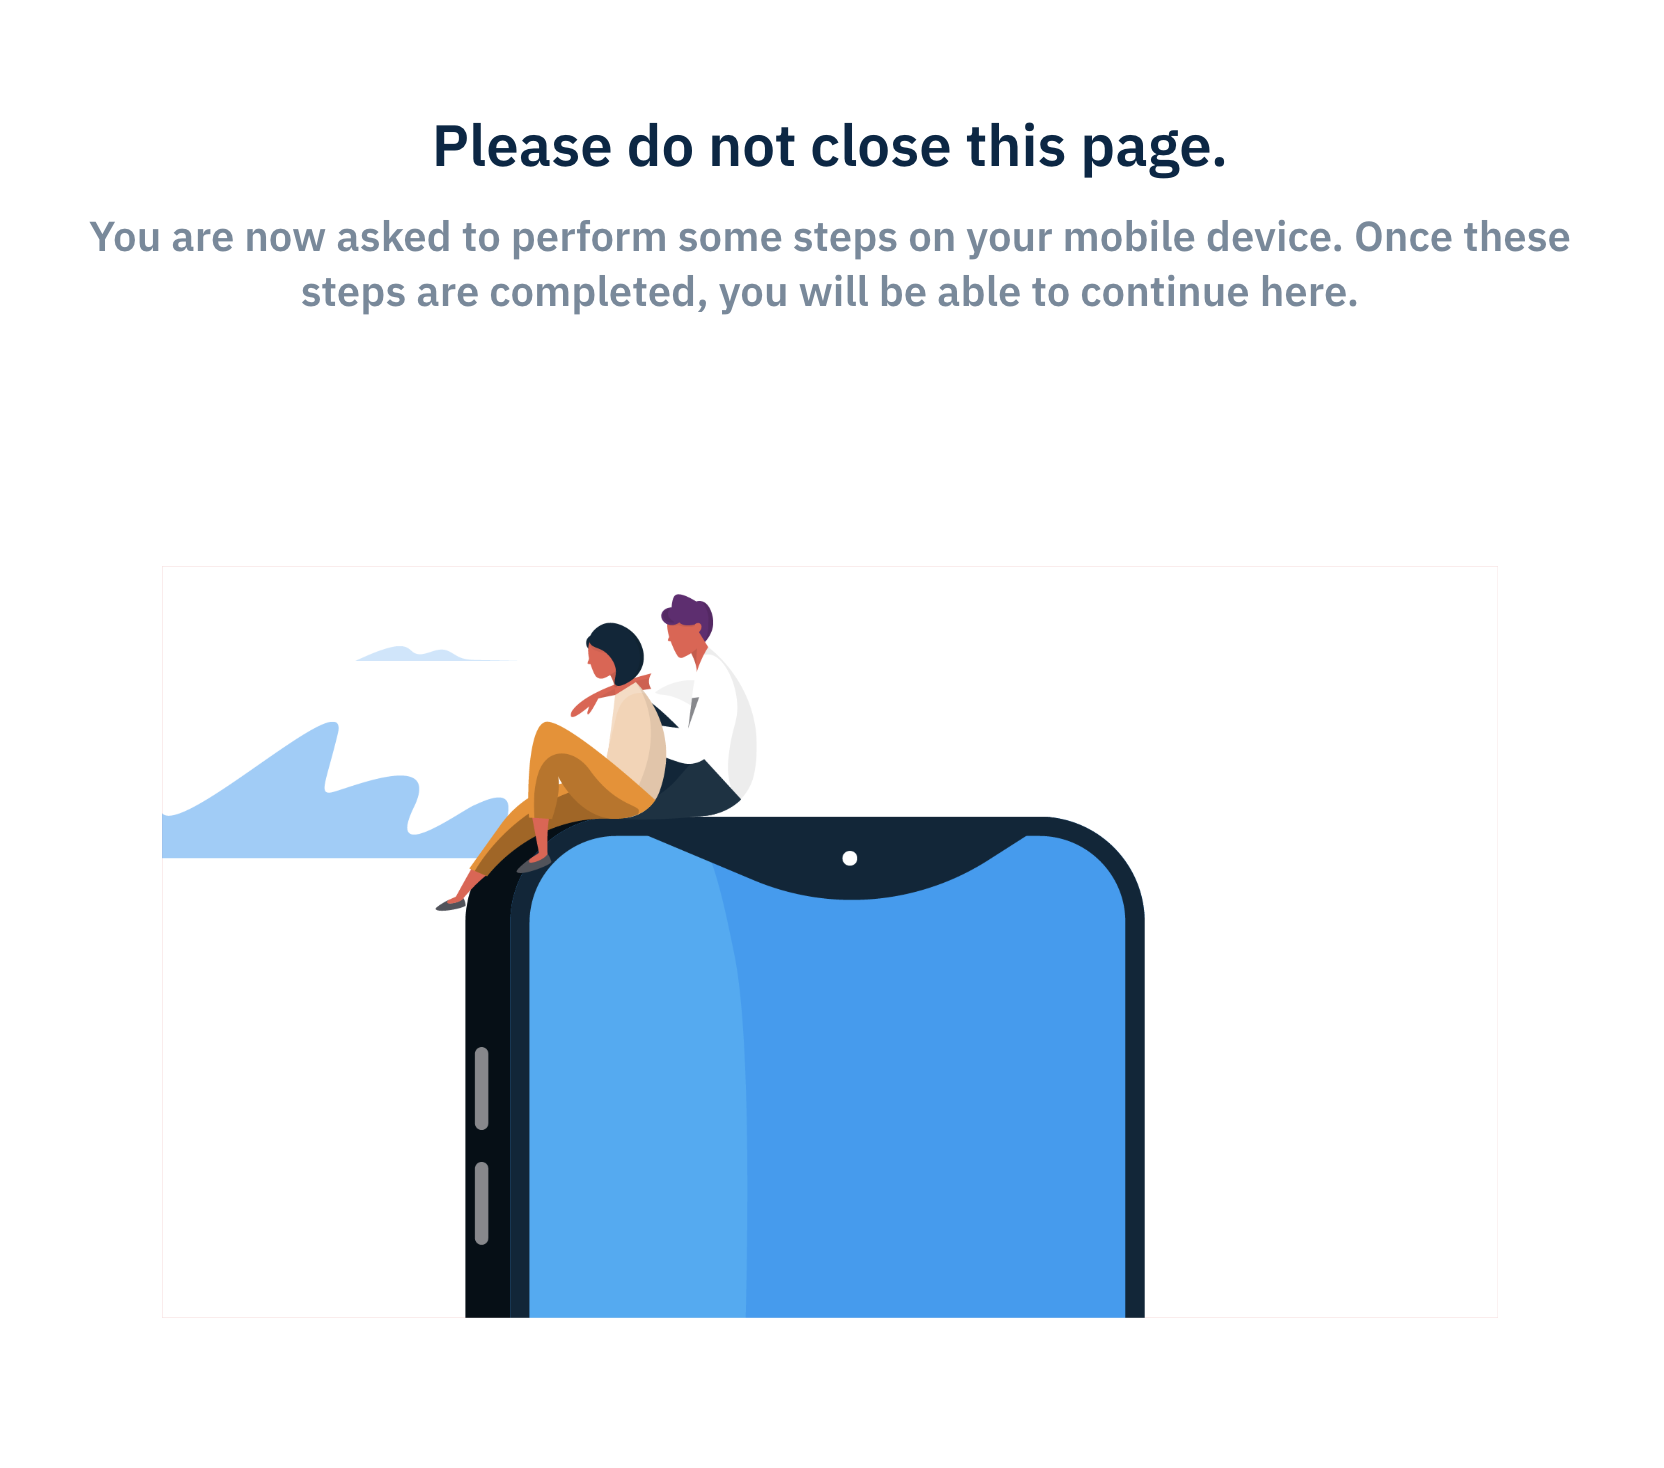
Once users scan the QR code, they will be redirected to the Daon flow and
in the desktop the screen changed to waiting for users to complete the flow
Desktop users will receive a QR code to continue the process on mobile.
Once users scan the QR code, they will be redirected to the Daon flow and
in the desktop the screen changed to waiting for users to complete the flow
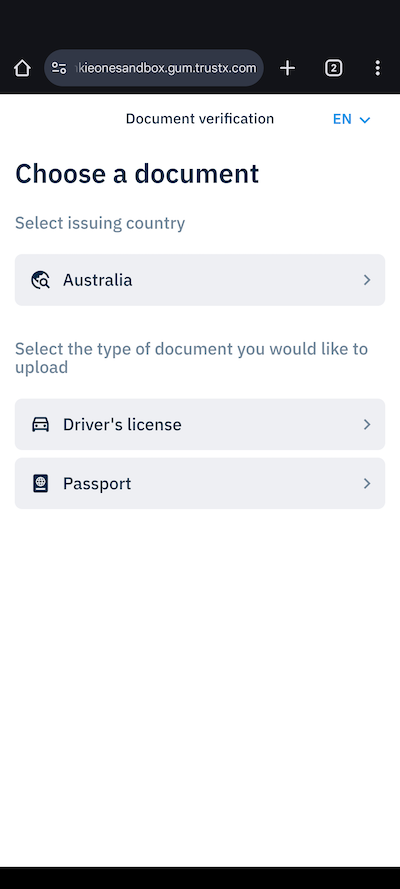
 1. Document selection
 2. Document capture
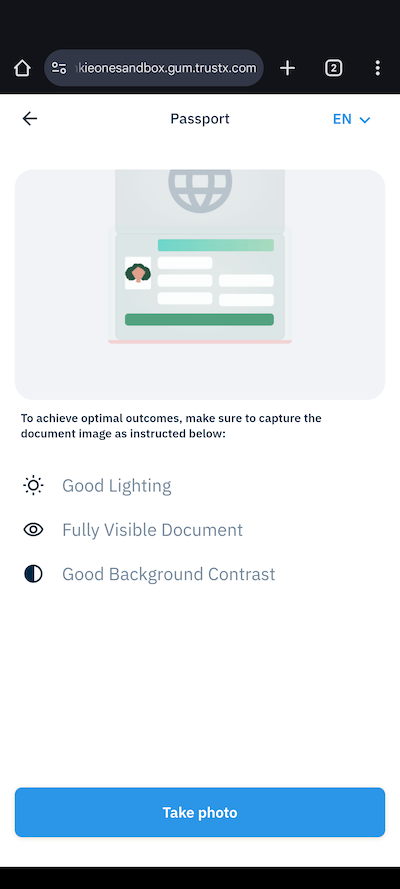
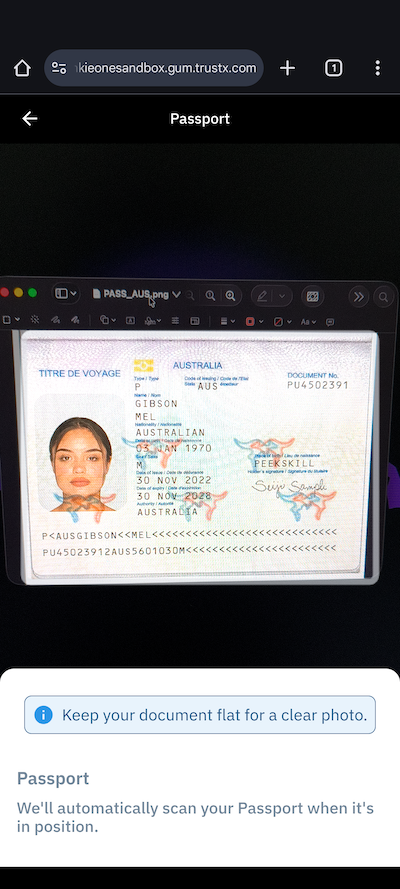
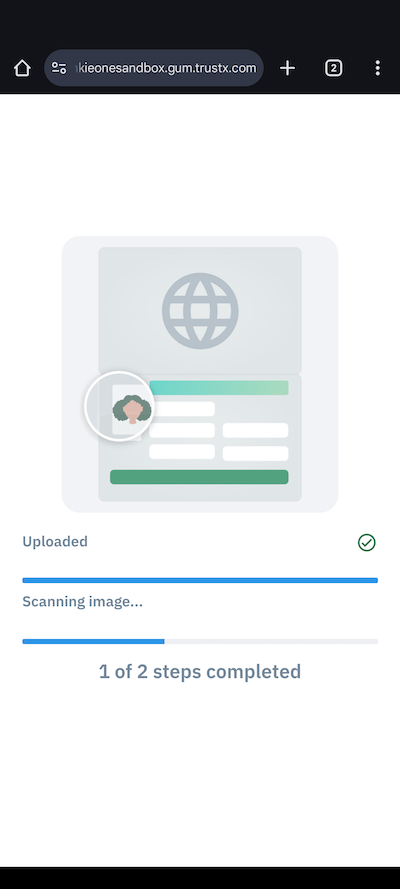
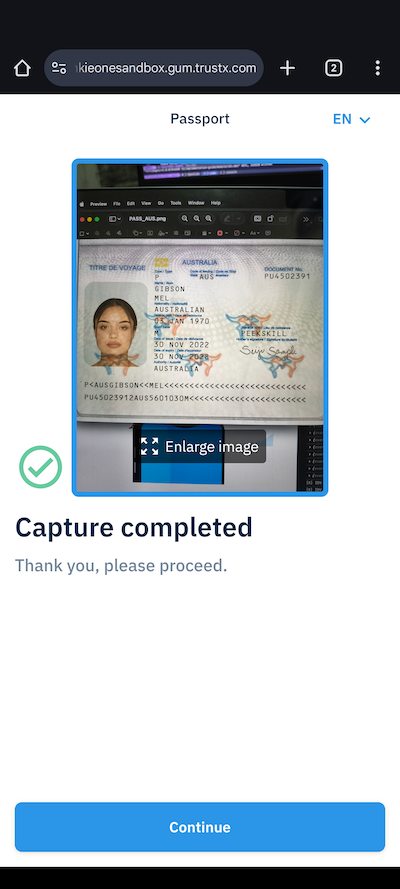 3. Biometrics verification
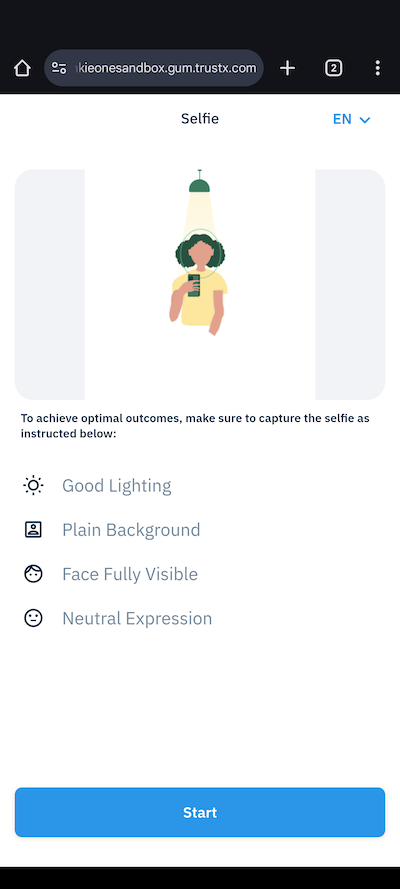 4. Finish
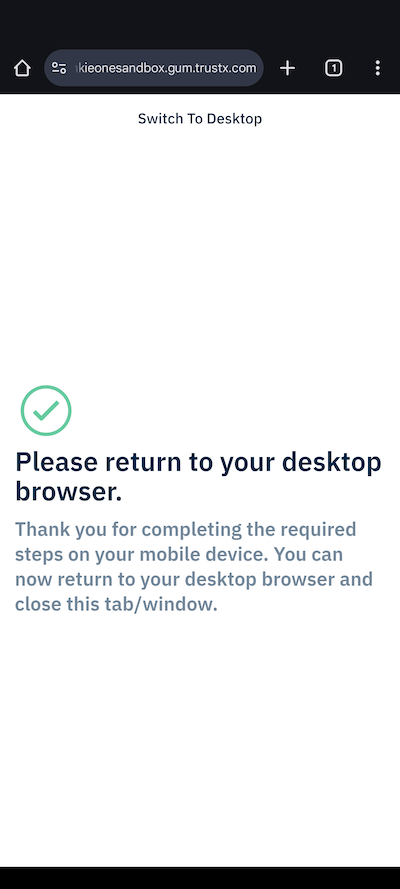 Daon requires a mobile device for optimal document and biometric capture.
## Best Practices
* Implement comprehensive error handling
* Log errors for debugging
* Provide user-friendly error messages
* Guide users through the verification process
* Handle device transitions smoothly
* Provide clear instructions at each step
You may need to adjust your Content Security Policy (CSP) settings to allow the IDV module to function correctly. Refer to this page for more details.
Daon requires a mobile device for optimal document and biometric capture.
## Best Practices
* Implement comprehensive error handling
* Log errors for debugging
* Provide user-friendly error messages
* Guide users through the verification process
* Handle device transitions smoothly
* Provide clear instructions at each step
You may need to adjust your Content Security Policy (CSP) settings to allow the IDV module to function correctly. Refer to this page for more details.