Welcome
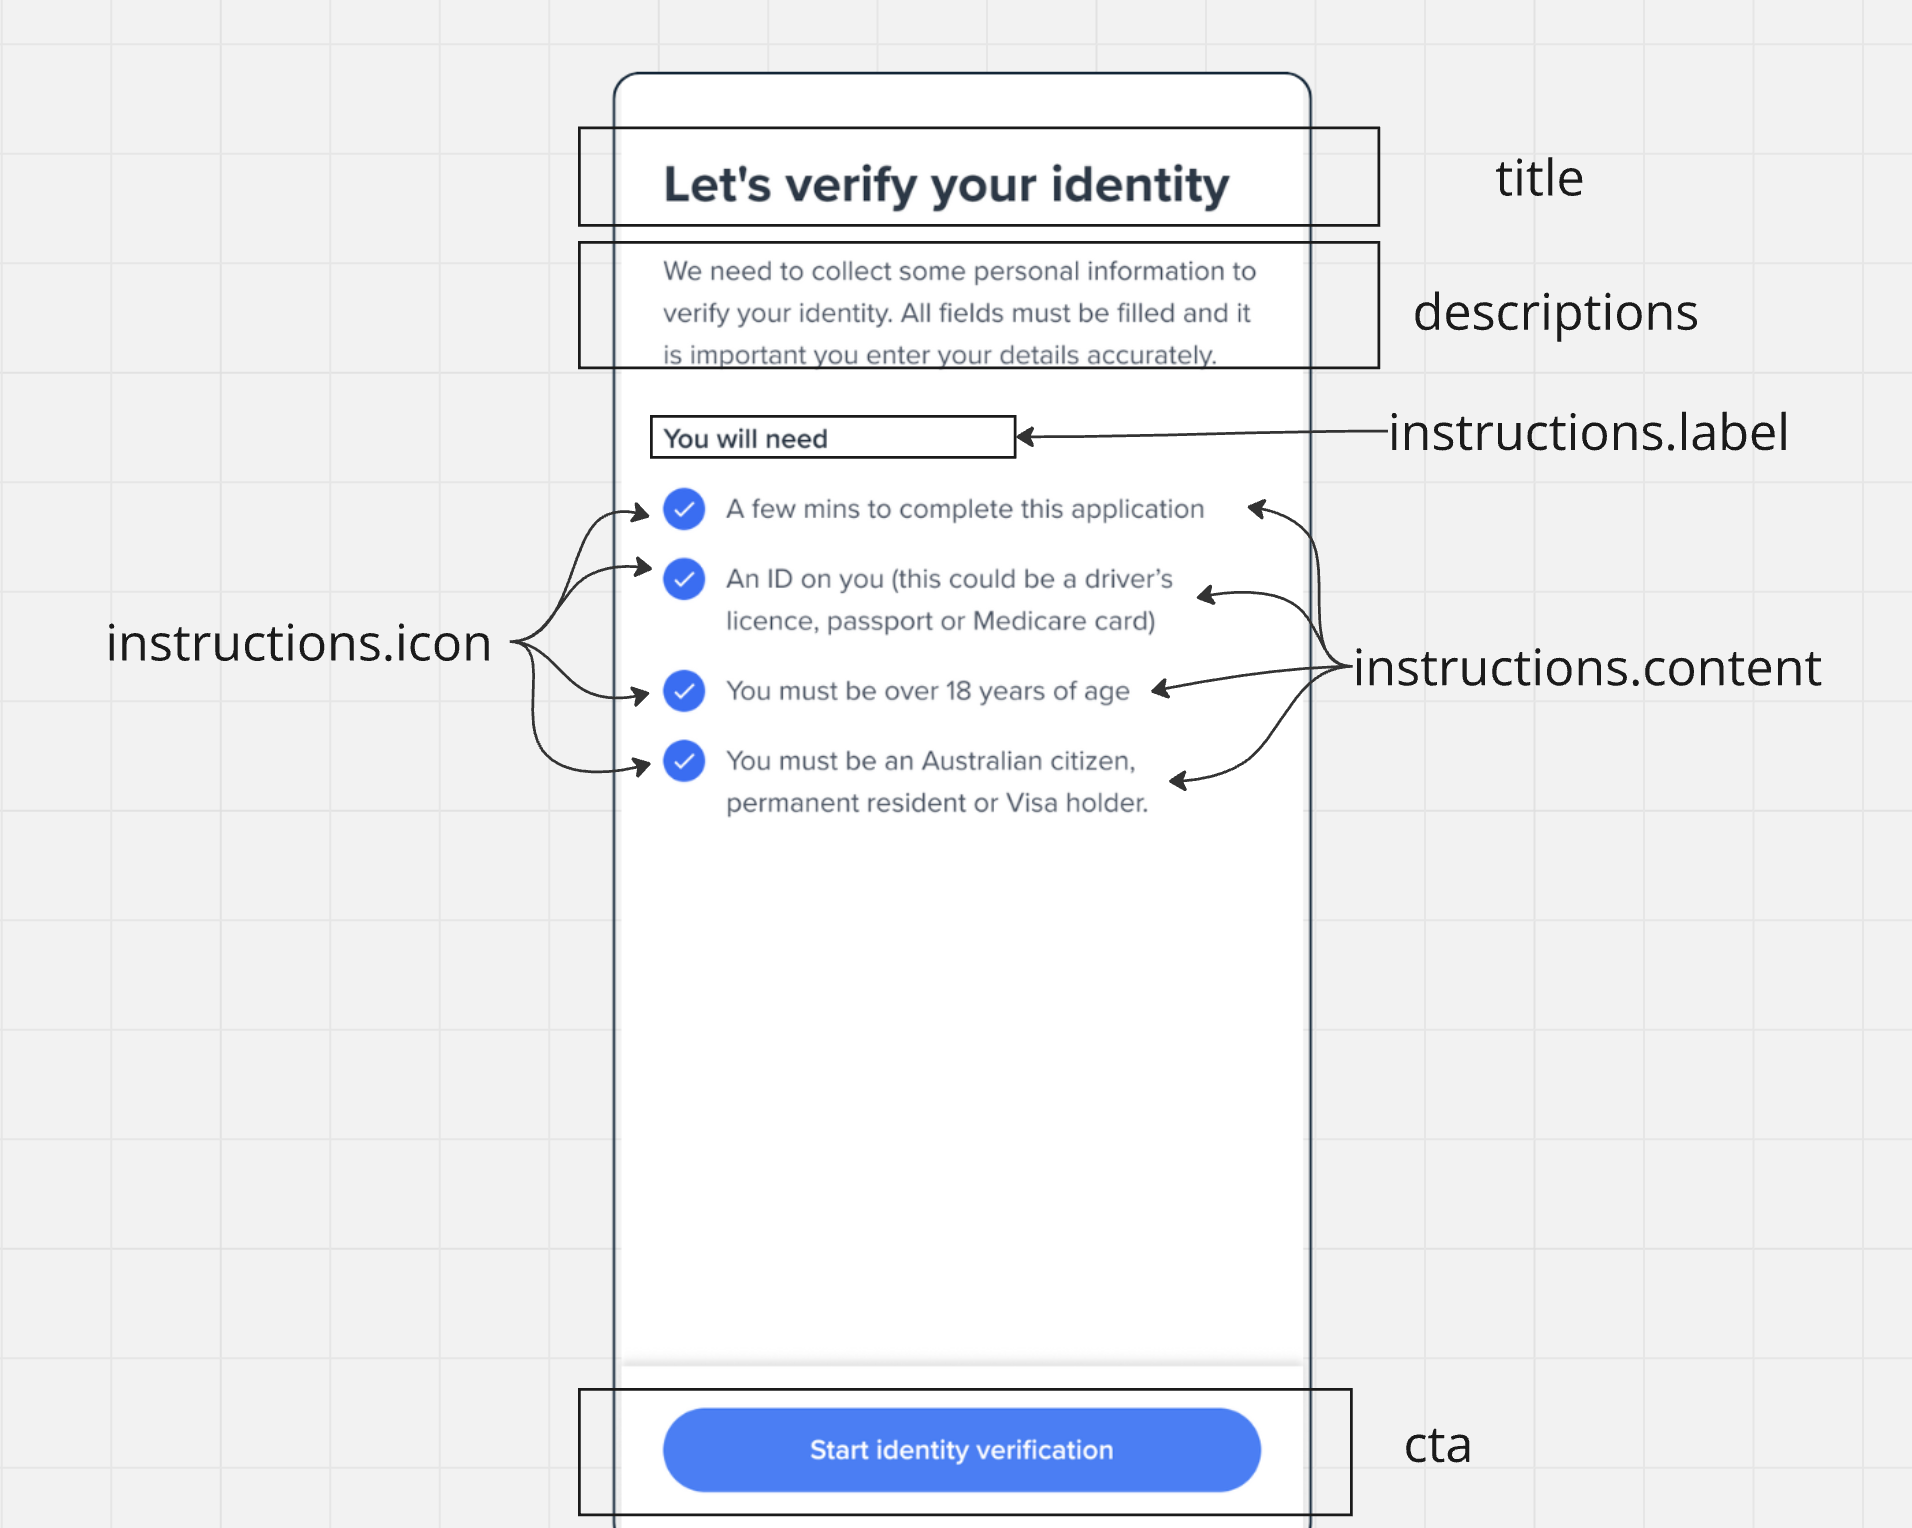
The Welcome screen serves as the entry point of your onboarding flow, providing users with essential information and instructions before they begin the verification process.
Quick Implementation
Event Handling
Available Events
Event Usage Example
Screen Customization
Basic Example
Full Customization
Customization Options
Title Configuration
Descriptions
Instructions
Button (CTA)
Logo
Styling Best Practices
- Use consistent colors and fonts across your implementation
- Ensure sufficient contrast for accessibility
- Maintain padding and spacing for readability
- Test your customizations across different screen sizes
All styling should be applied through the appropriate style objects
(ff-title, ff-description, ff-instructions, ff-button). Direct CSS
manipulation isn’t recommended.
UI Structure

